It’s been a long while since I have done an update. Been a busy summer with alot of family stuff since the 4th, but did make some minor progress and other interesting items. This is more of a Layout infrastructure post.
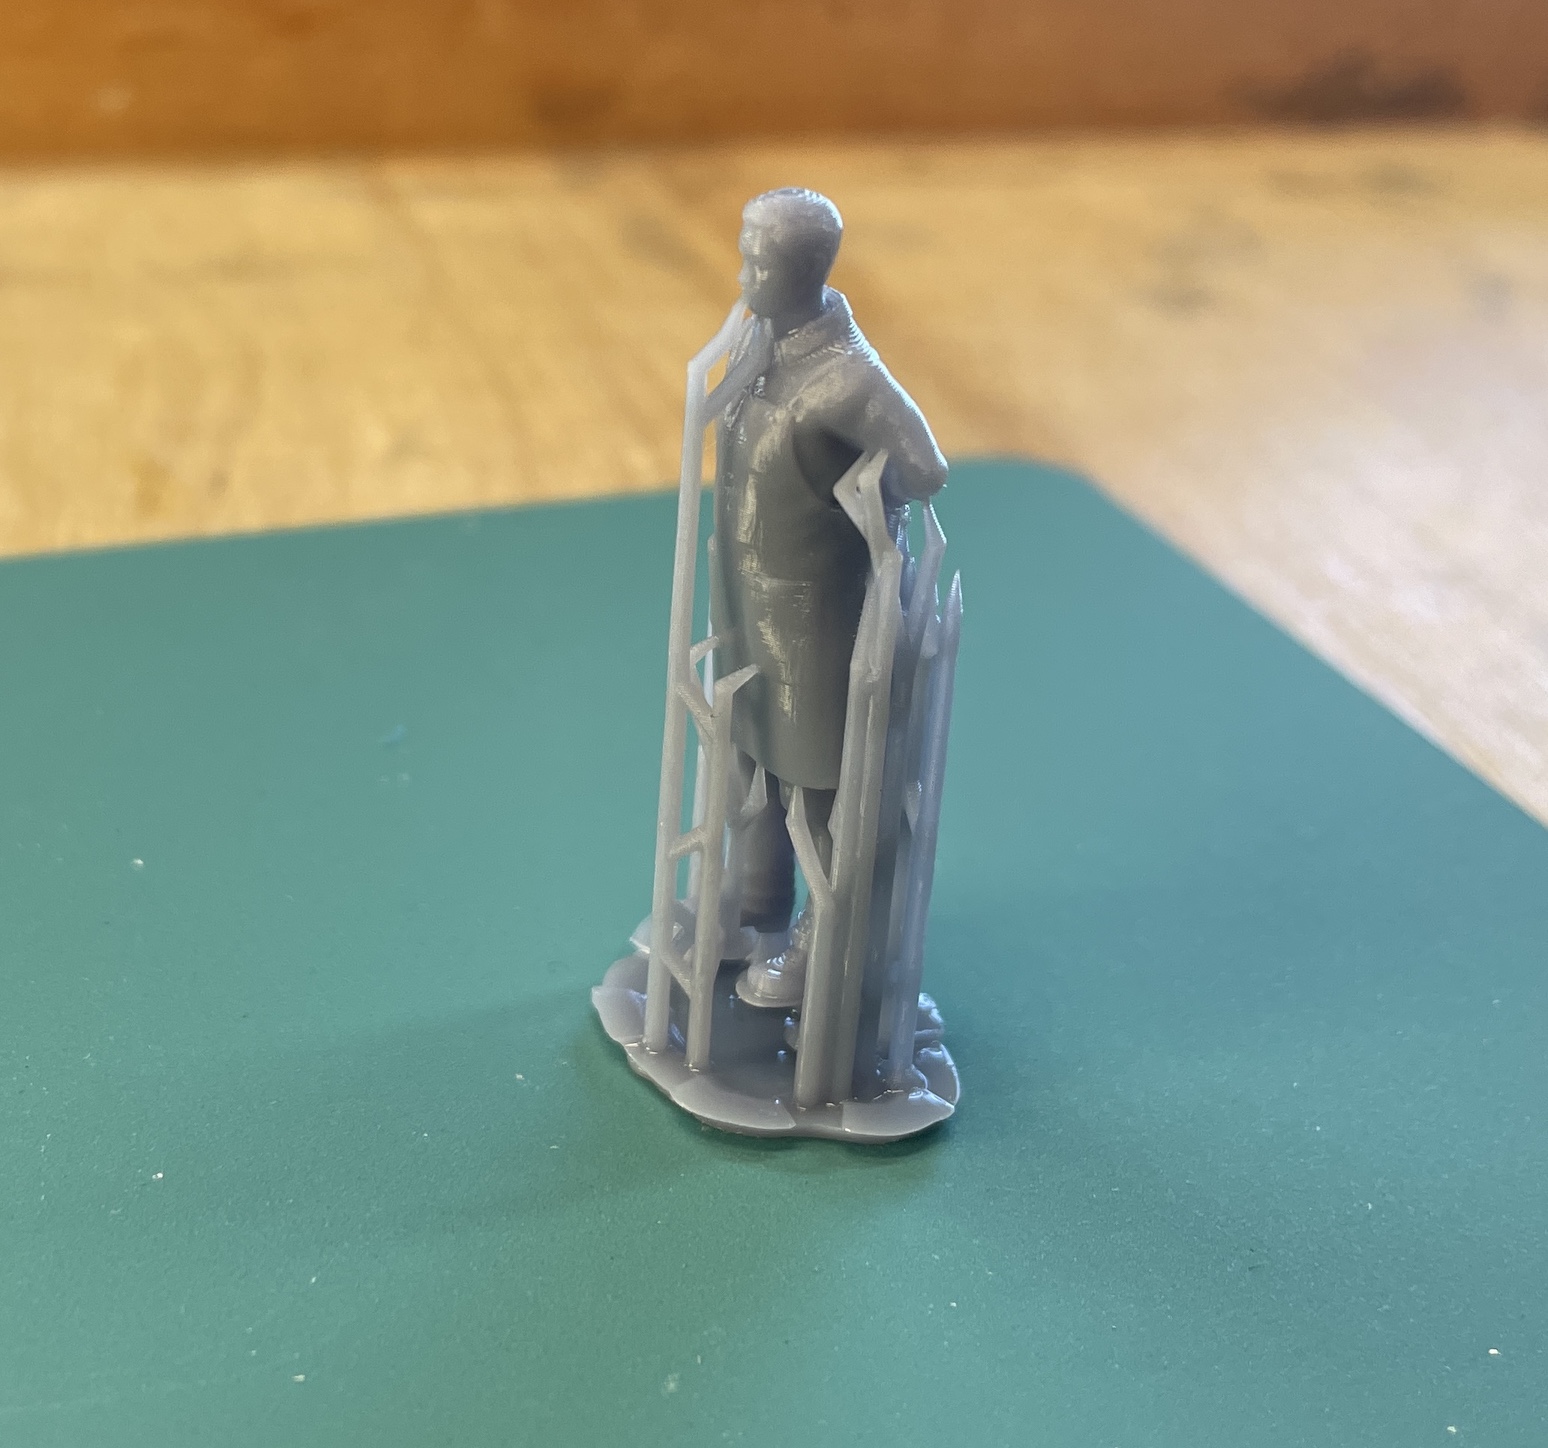
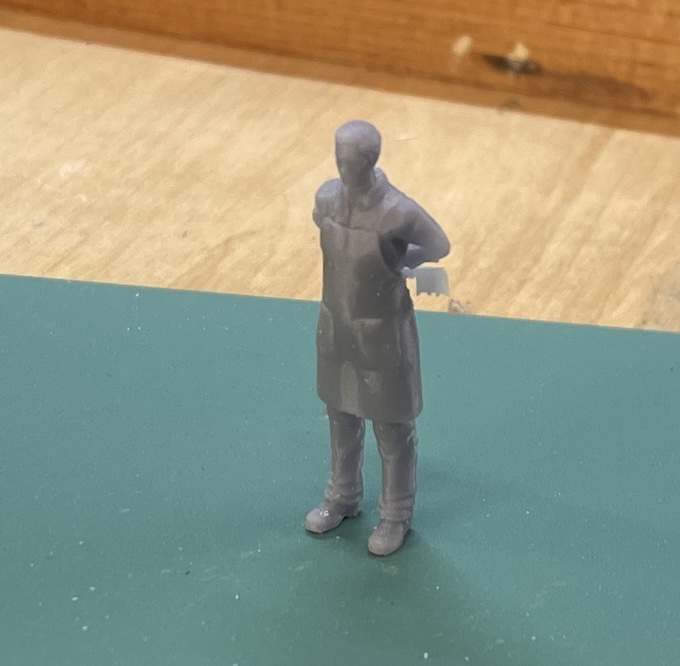
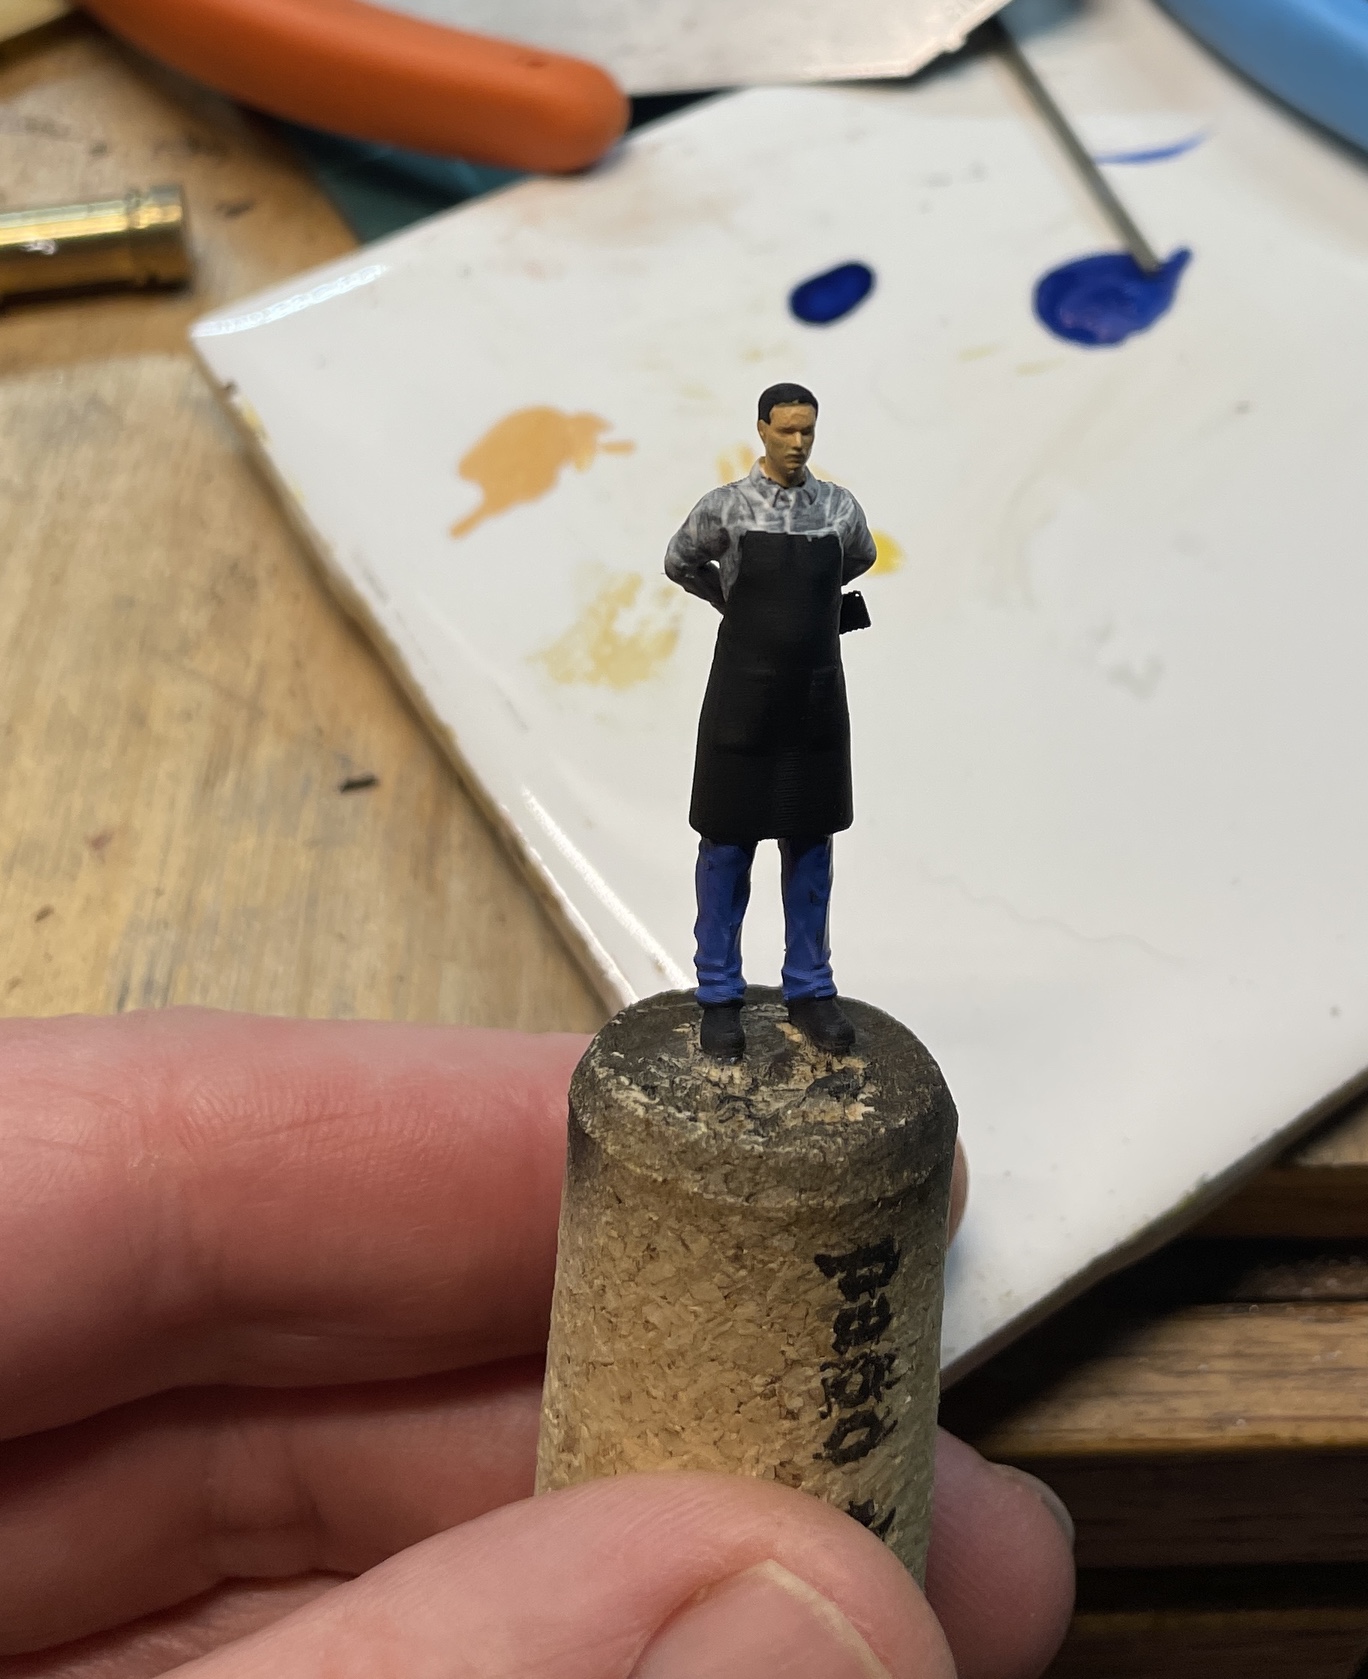
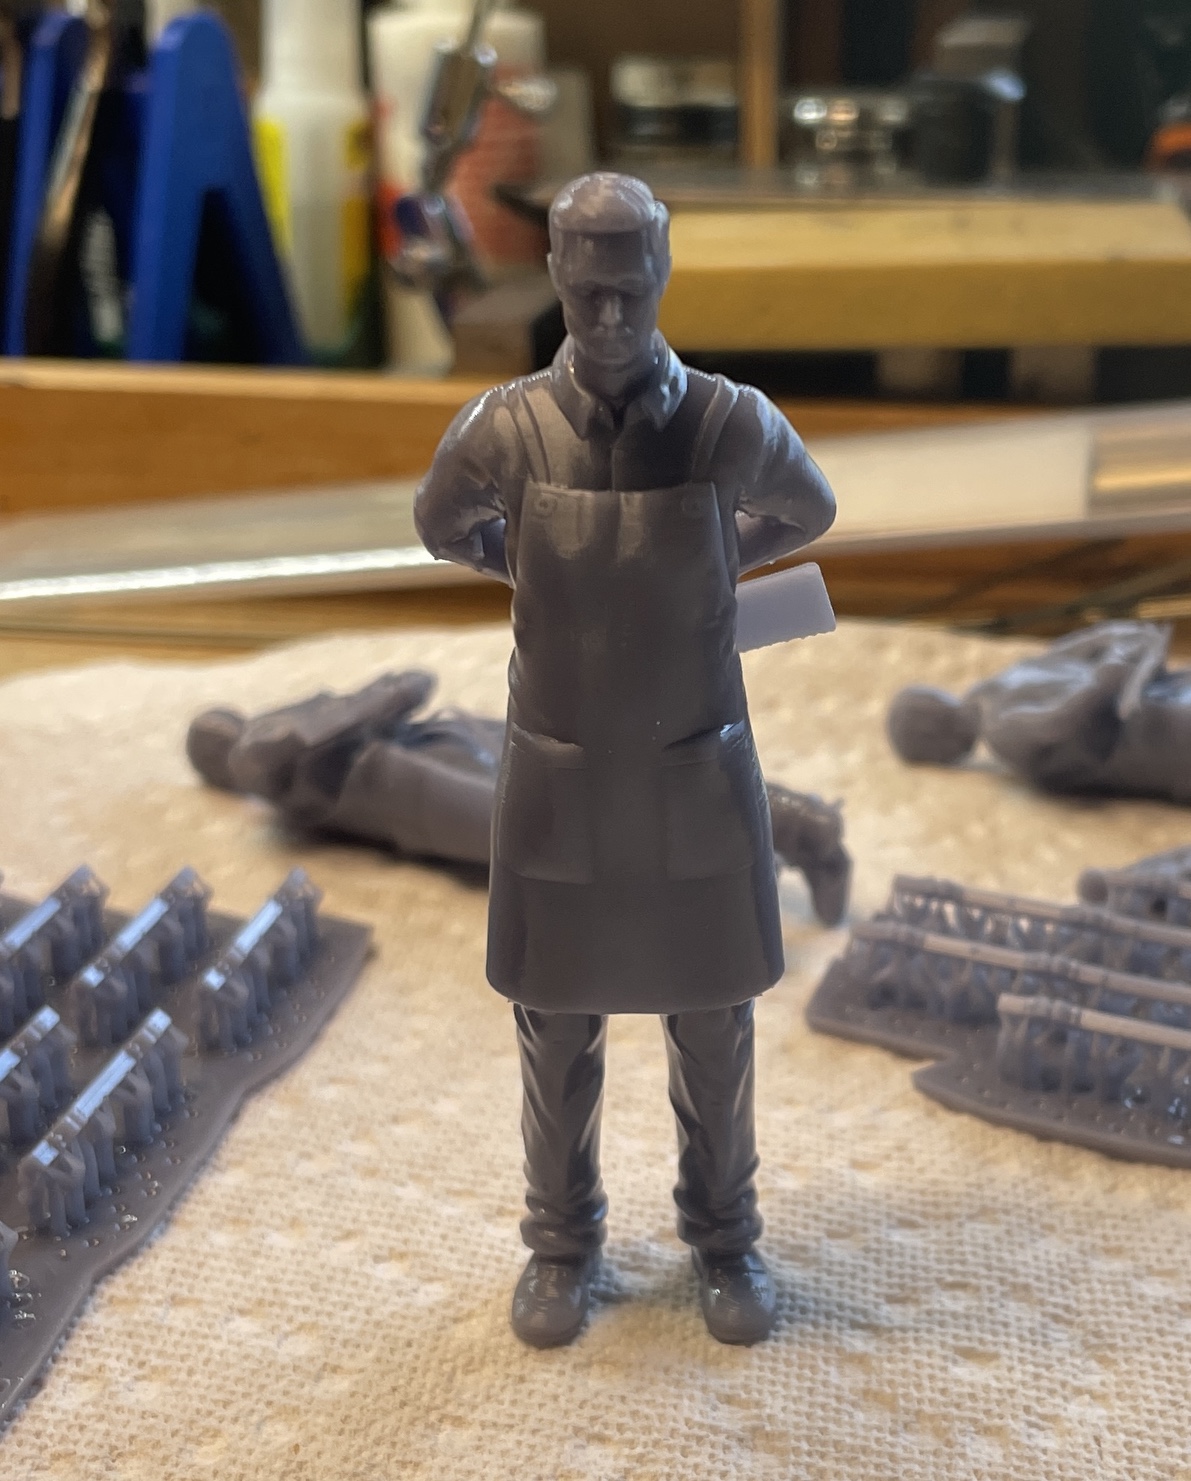
A friend of mine had a custom figure made of a past model railroader and wanted to include him in his layout. He found a group who do figures Print figureines where they can construct a figure in any pose you would like. I volunteered to print the figures for him. The results have been fantastic I have commissioned them for a couple of figures.
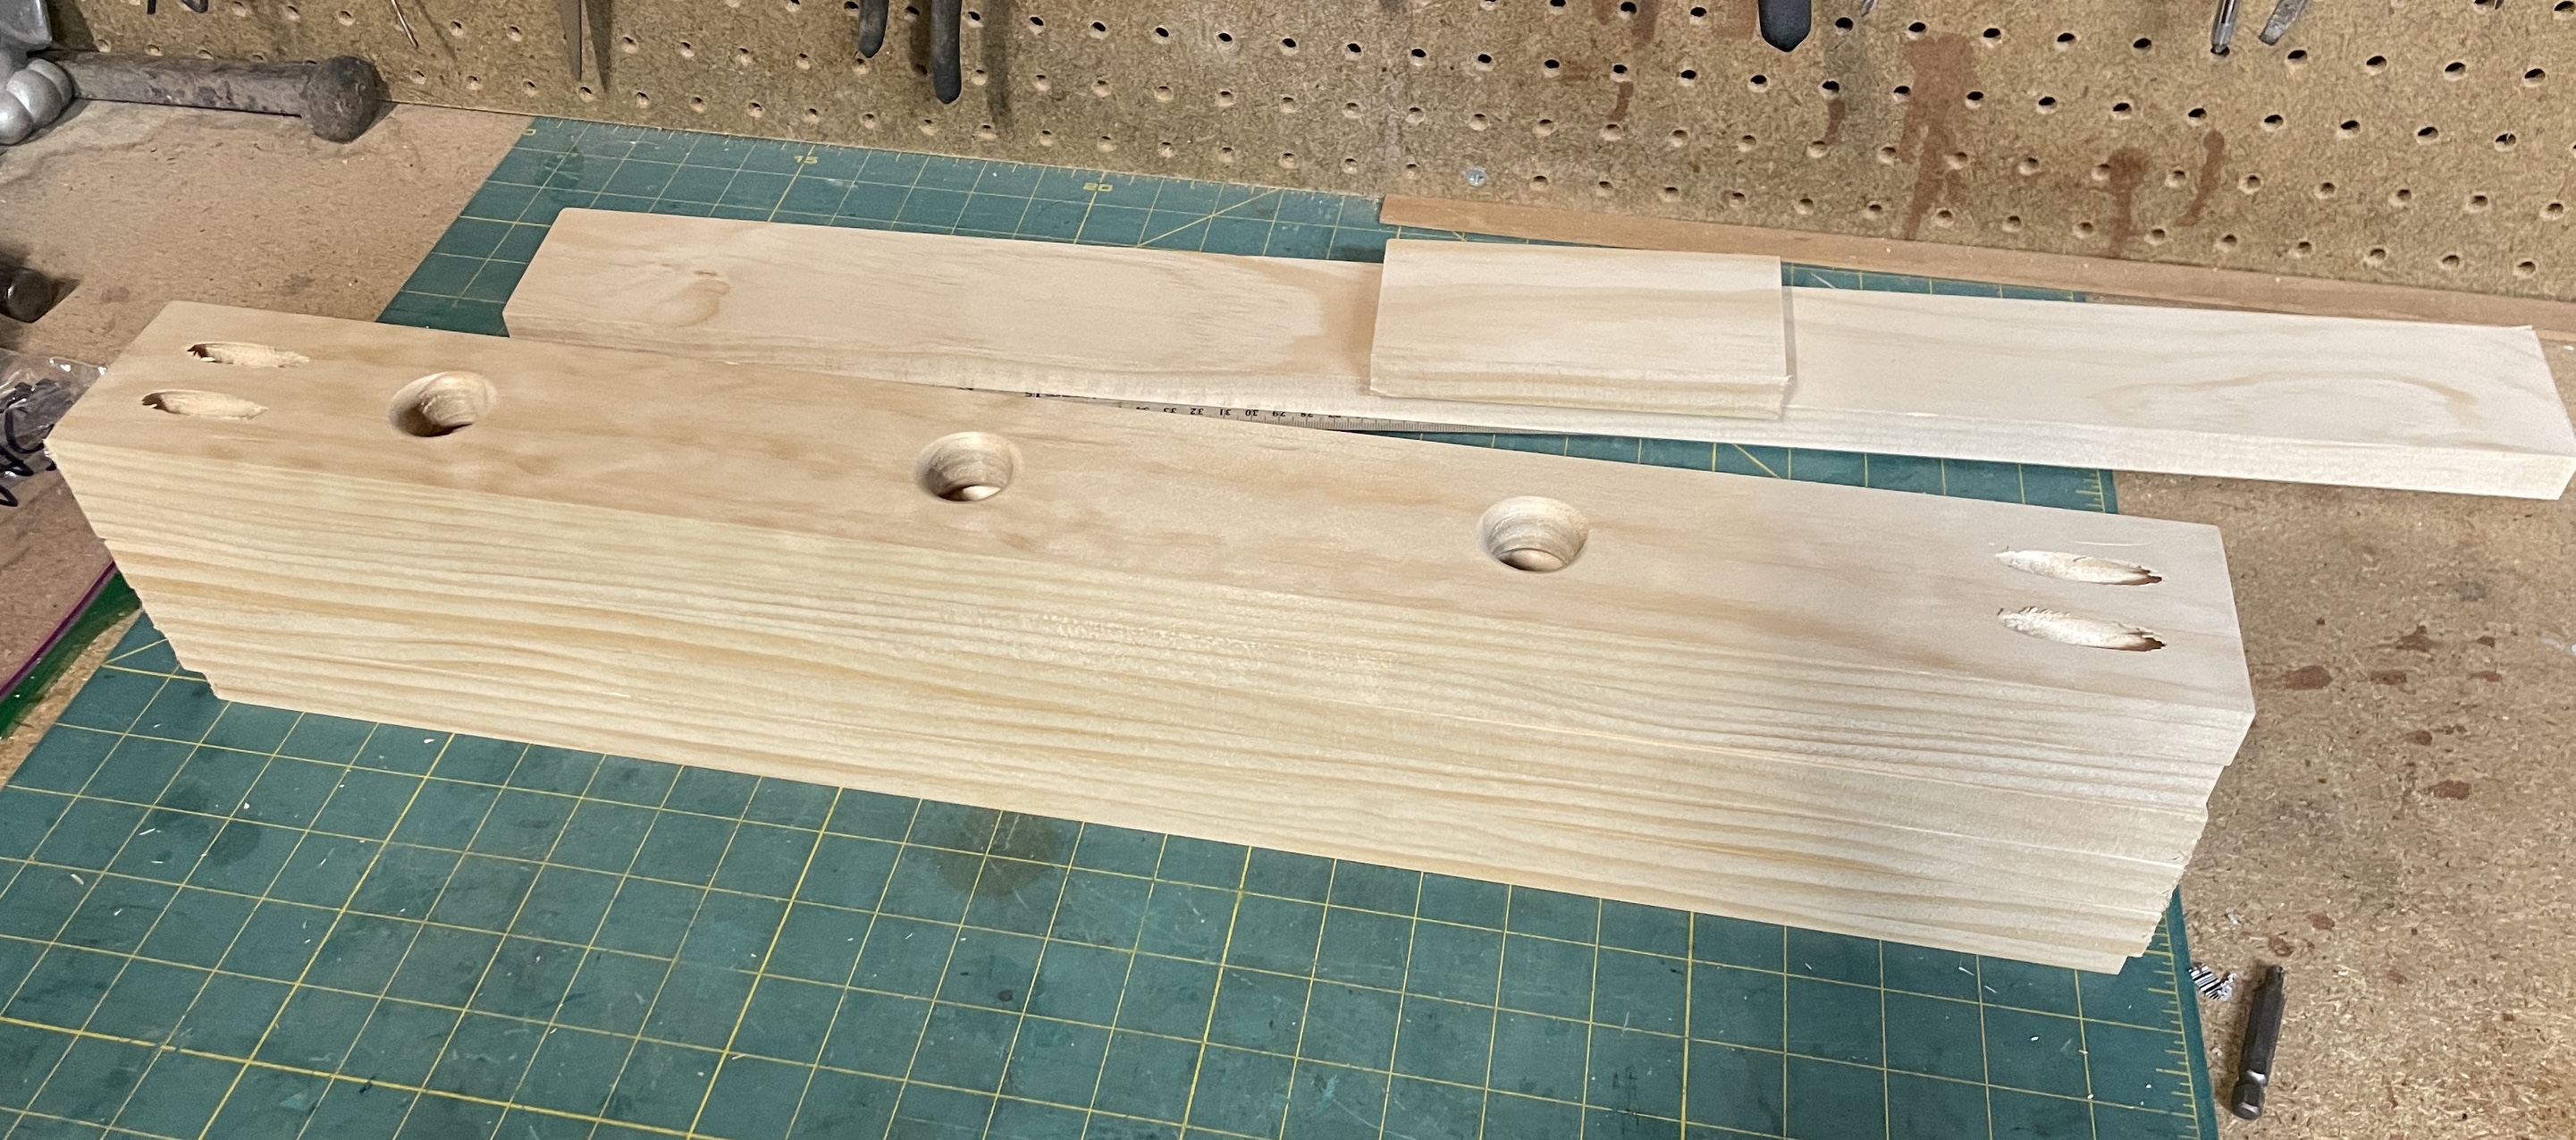
My benchwork test for Dallas is “ok”. I found that there is too much flex in the plywood. If I switched to 3/4" cabinet plywood, that would likely solve the problem but the weight would increase significantly. There also would be alot more waste and I want the modules to be portable. Since I’m still waiting for the addition to happen, I decided to take another approach for the double deck benchwork. This is more traditional with kiln dried 1x3 pine that will be mounted to the walls like cabinets. I did a small test in the room before the remodel, and I’m happy with the results. So I’m making sawdust now. :)

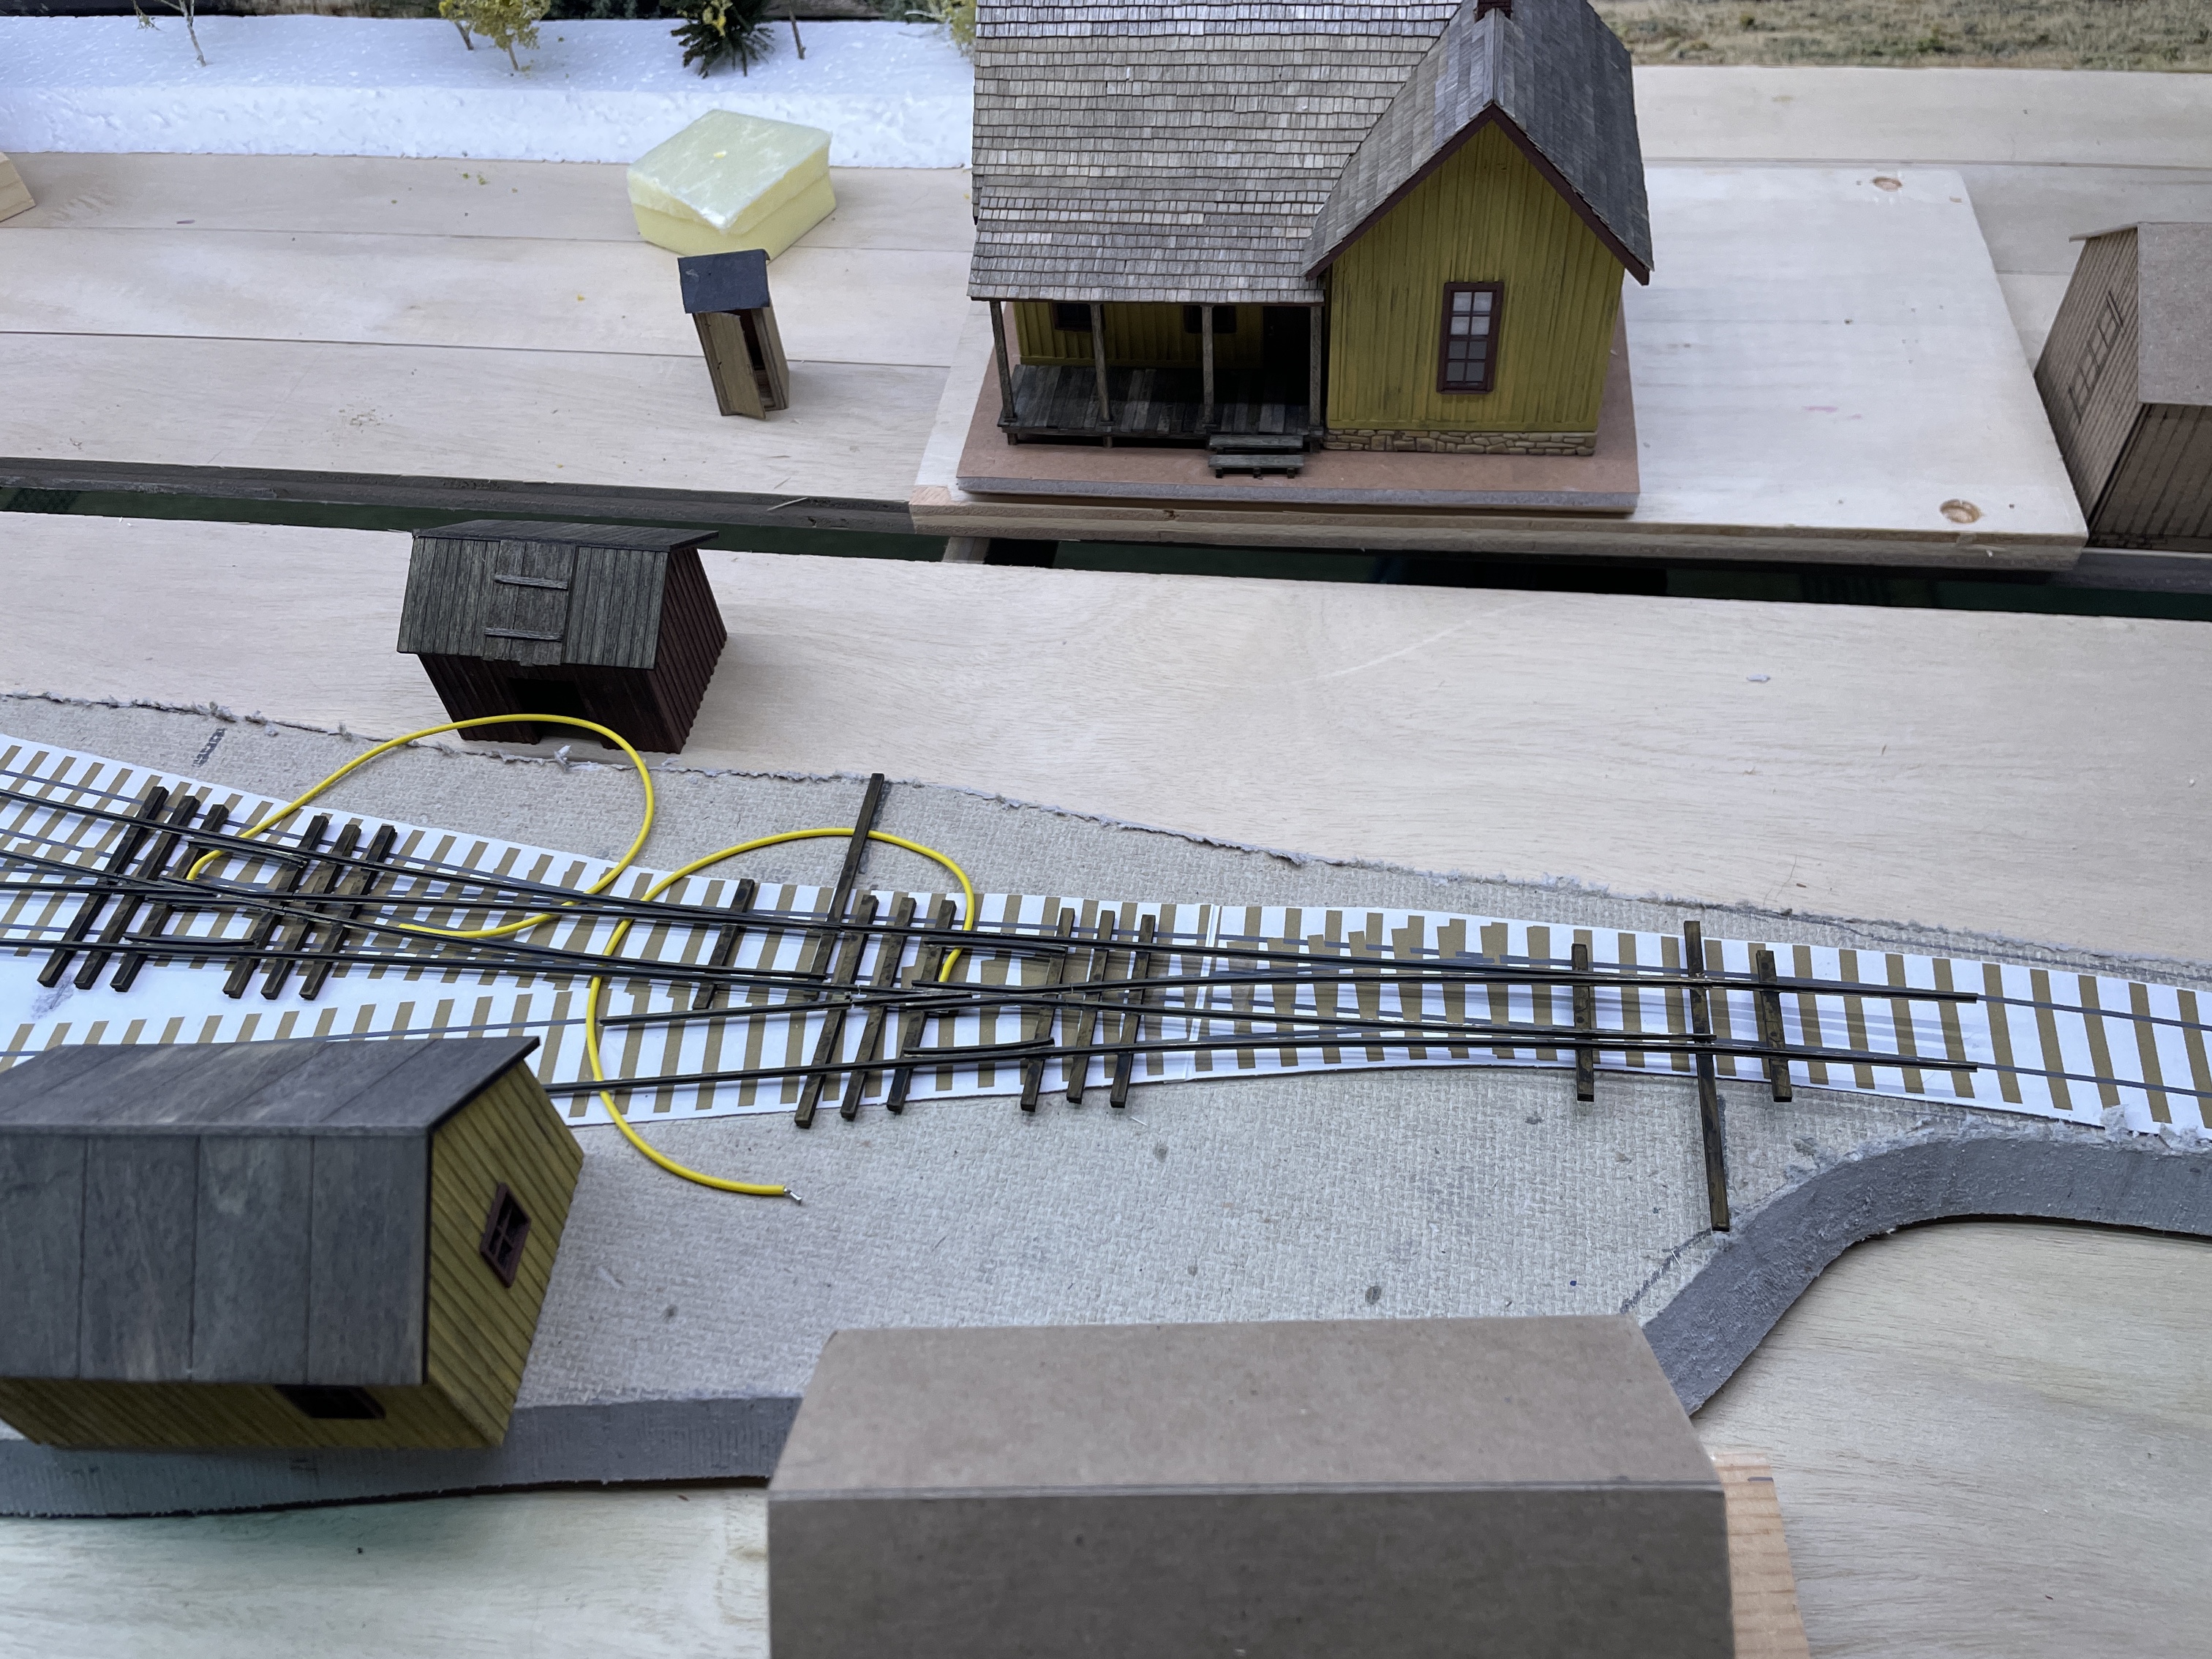
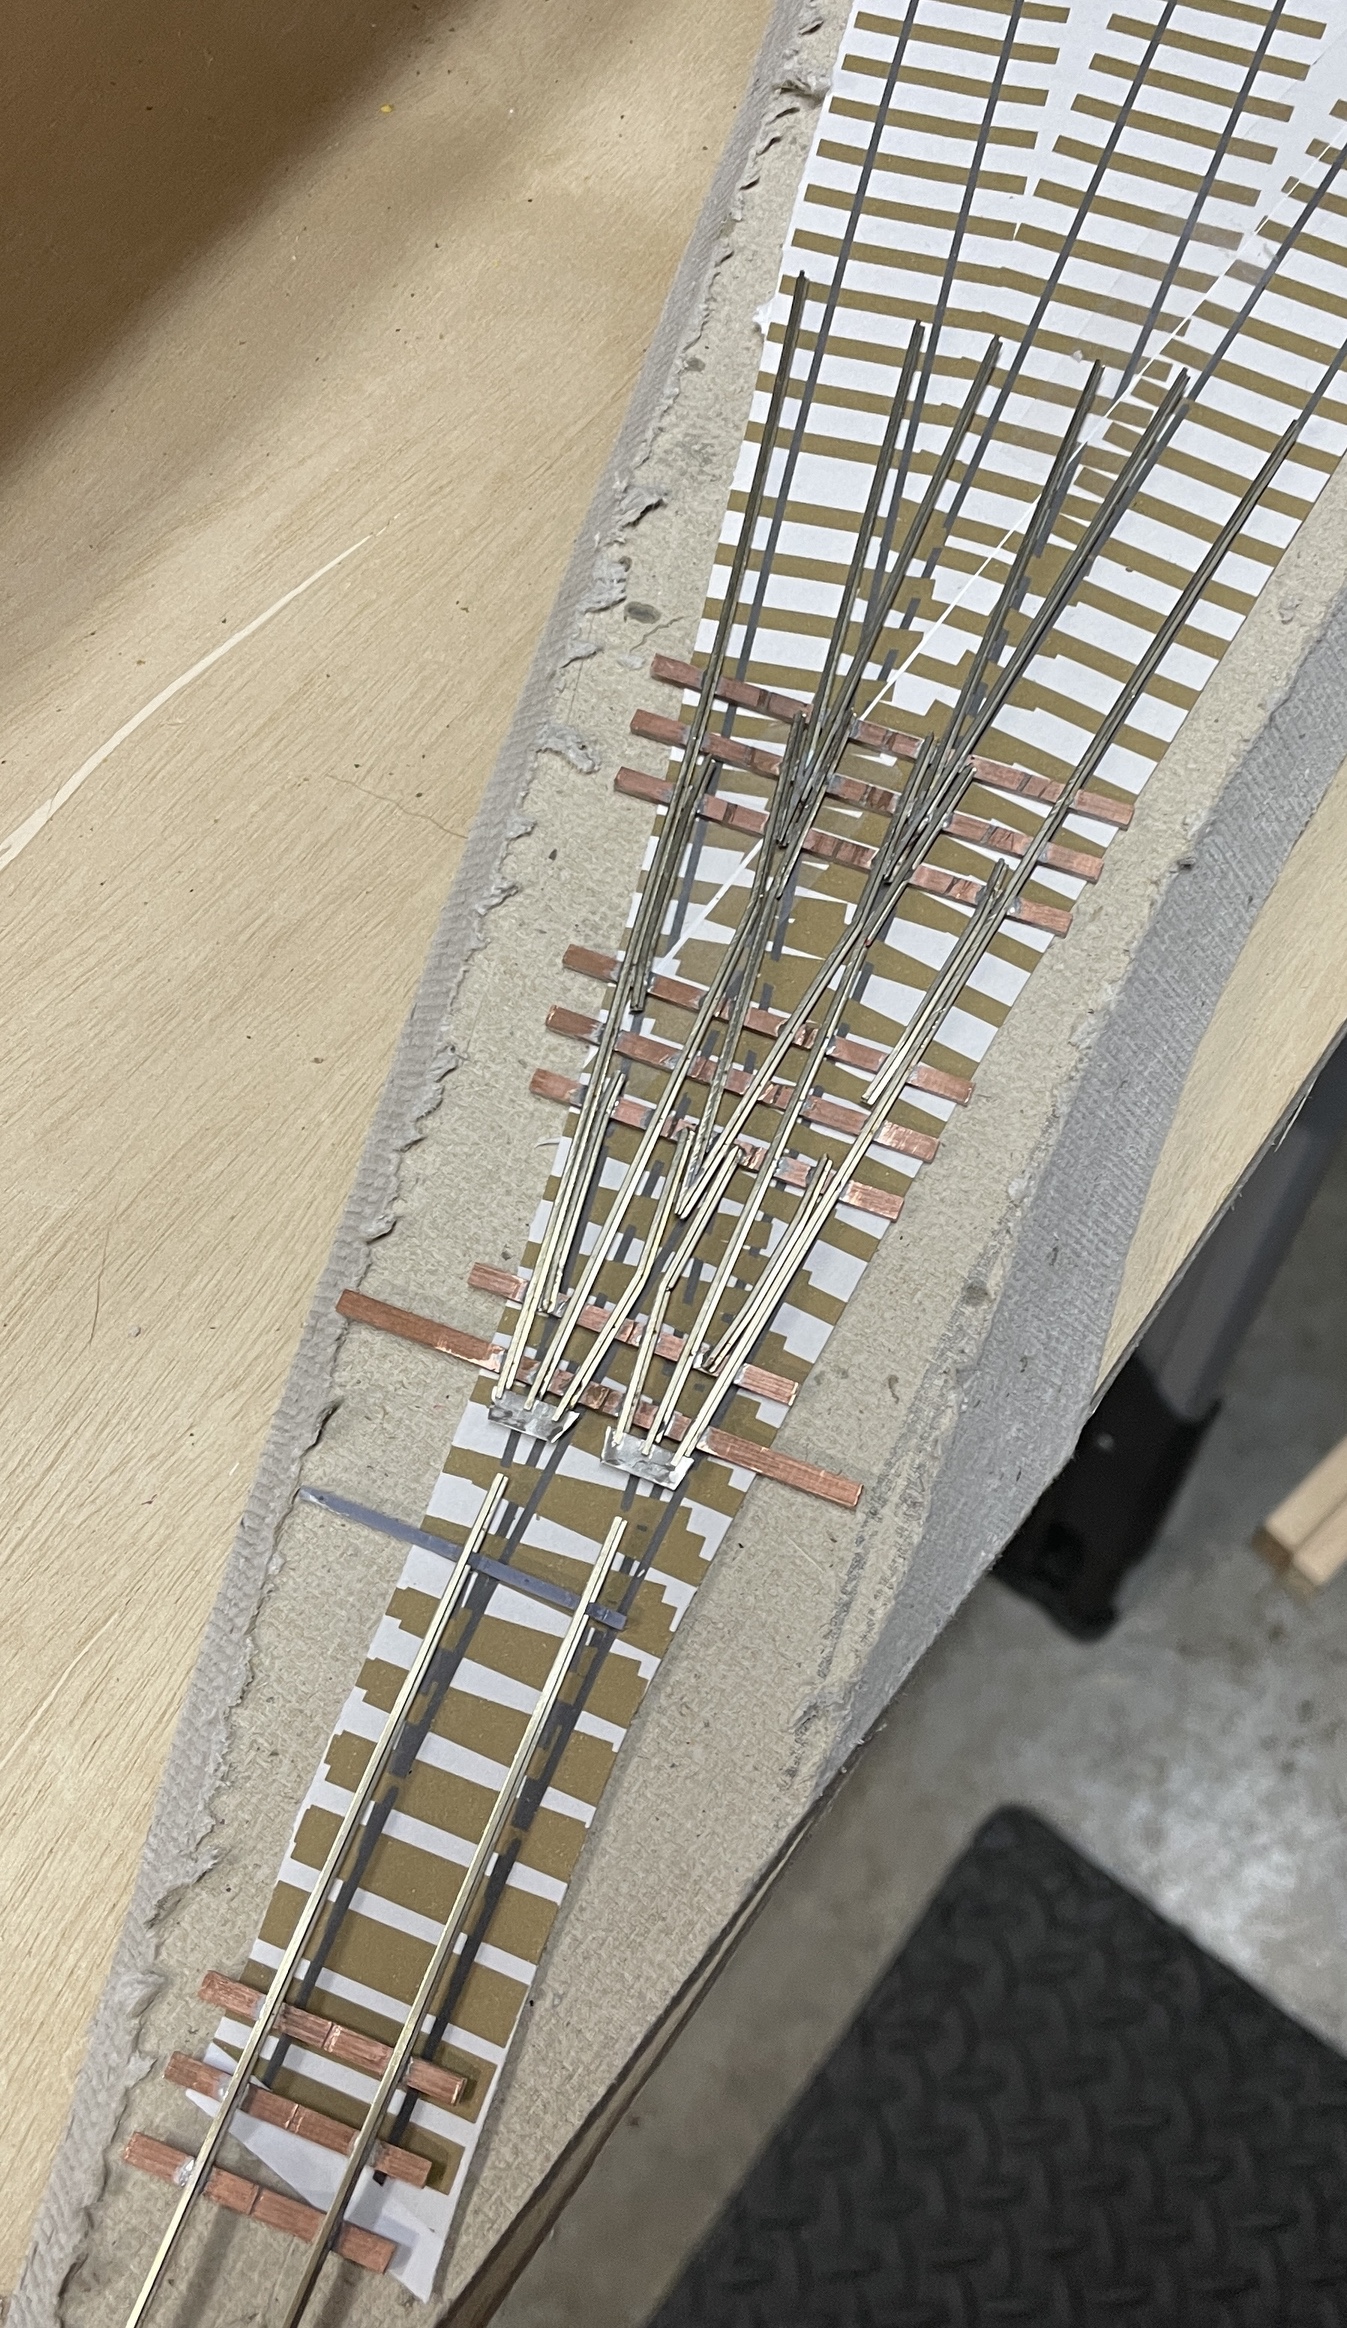
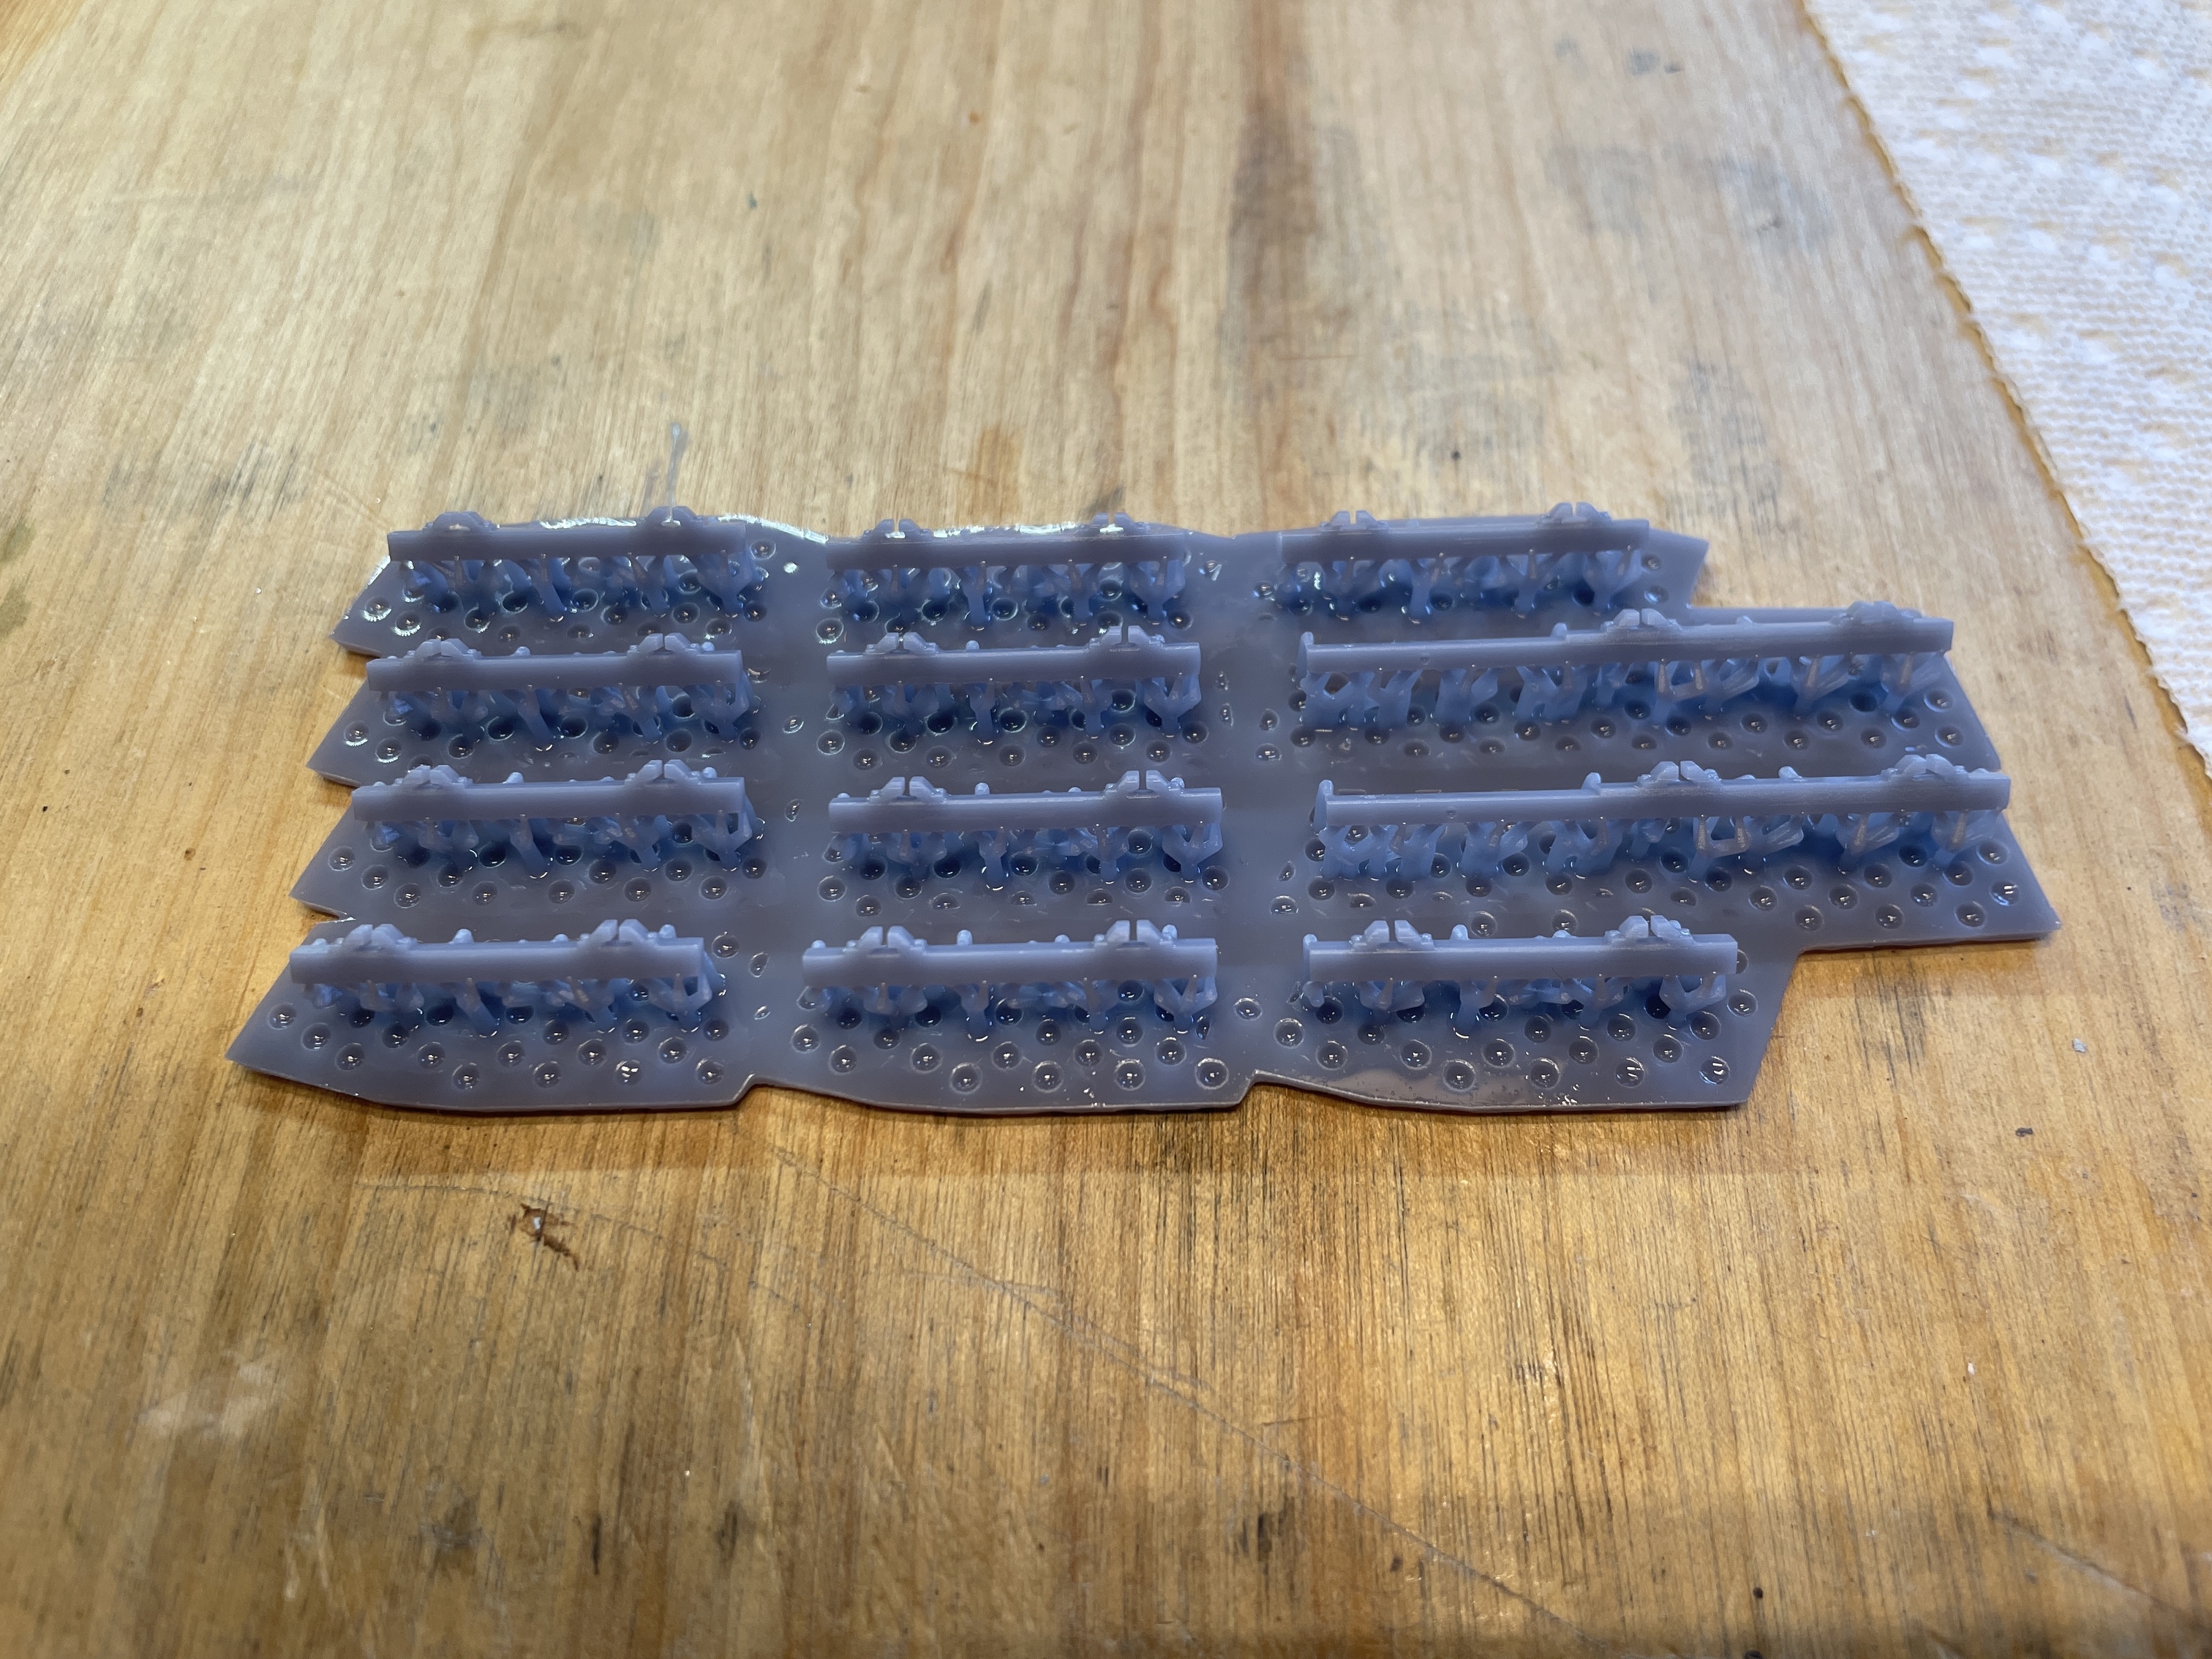
I have been hand making my switch for Dallas Divide, finished up the west end switches, but had a few struggles with the 3 way stub at the east end. Built it twice, once with a jig that was out of gauge, another by hand. I messed up on the second one and will rebuild that next week. One part for a stub switch is bridles, that are 3d printed. I’m using a resin that is “ABS” like that is quite strong and has just enough flexibility. Standard Resin is a bit too brittle.
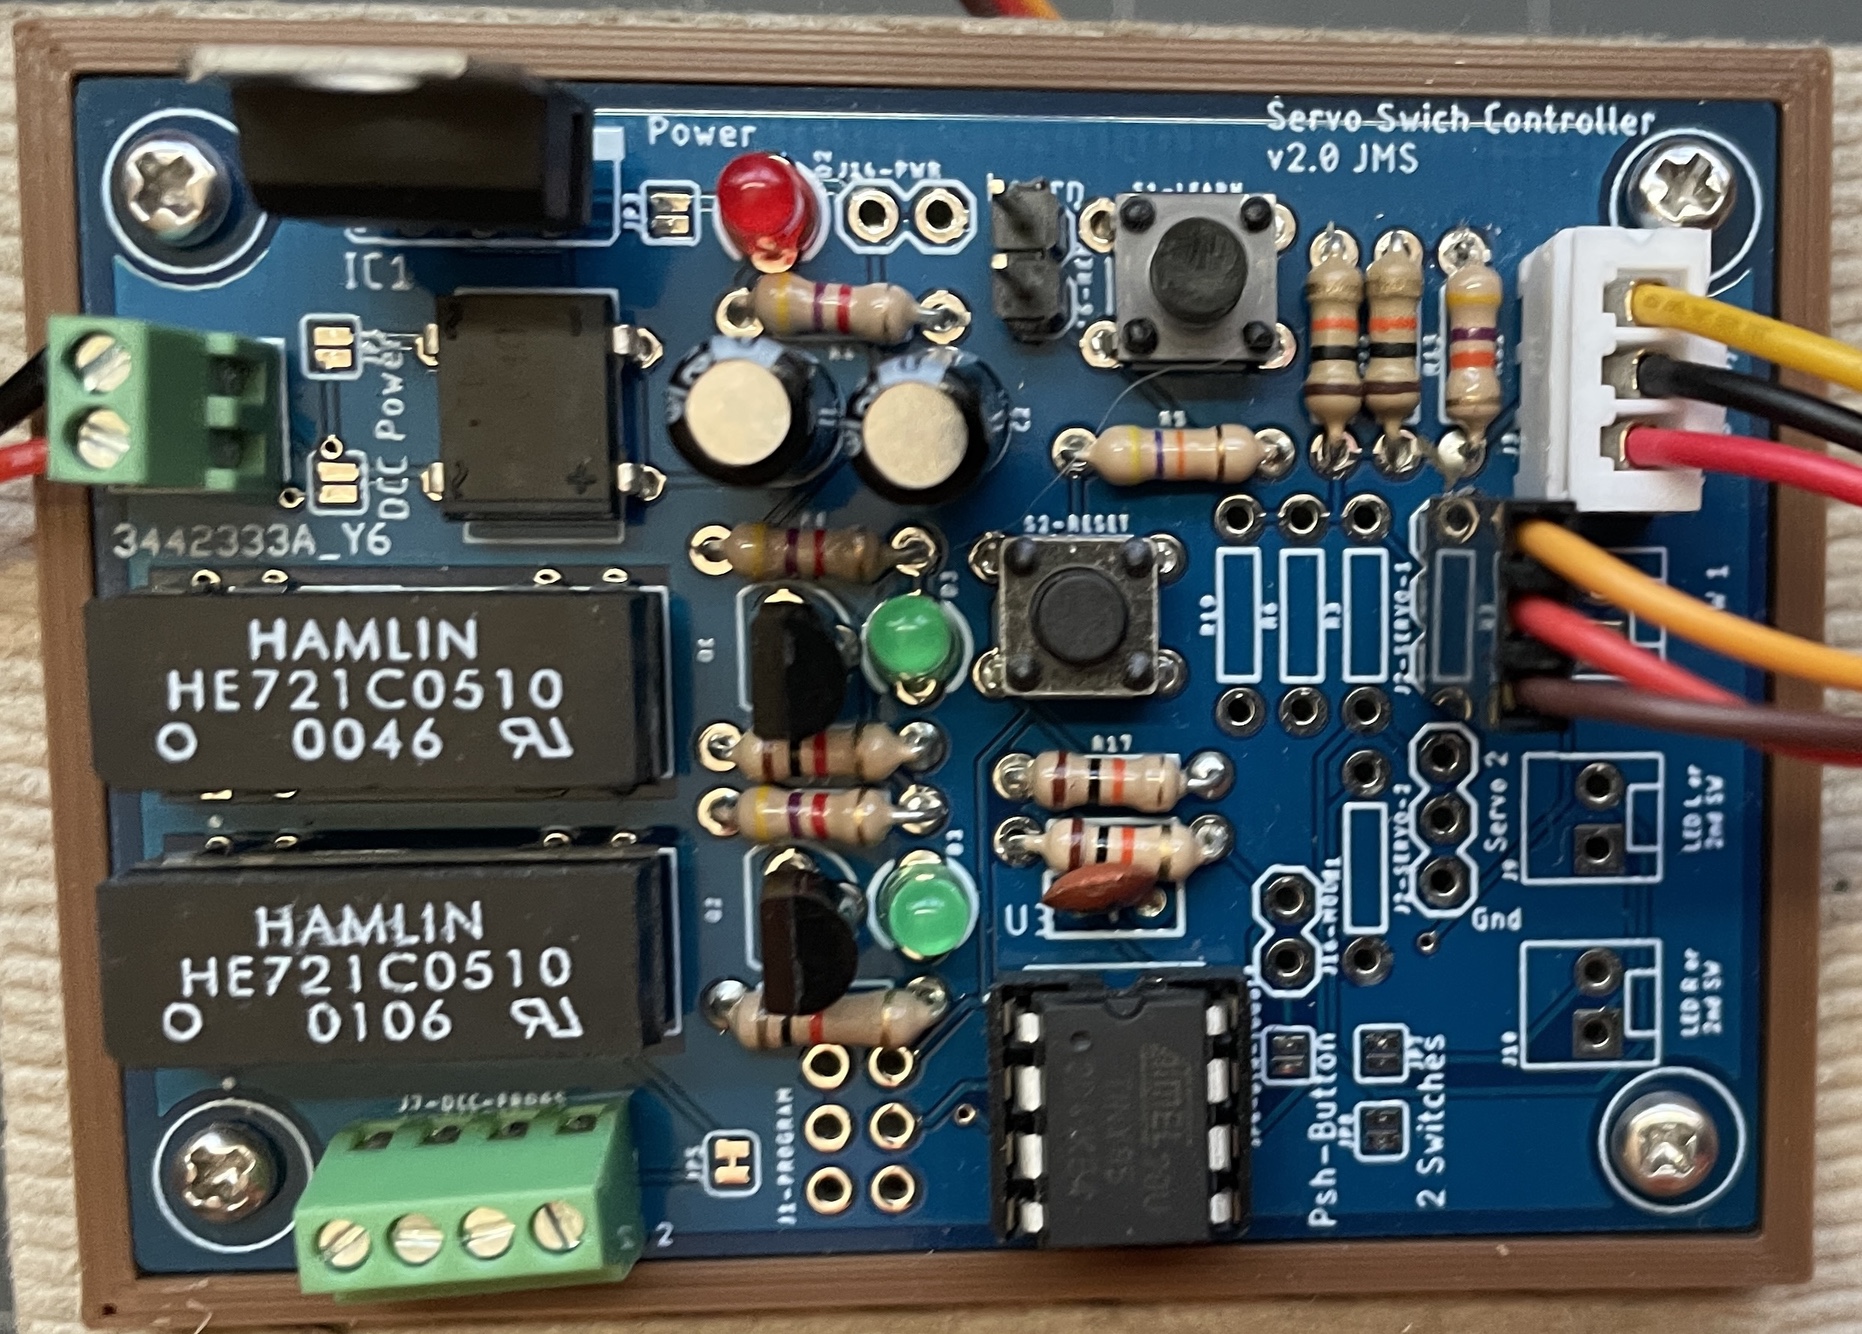
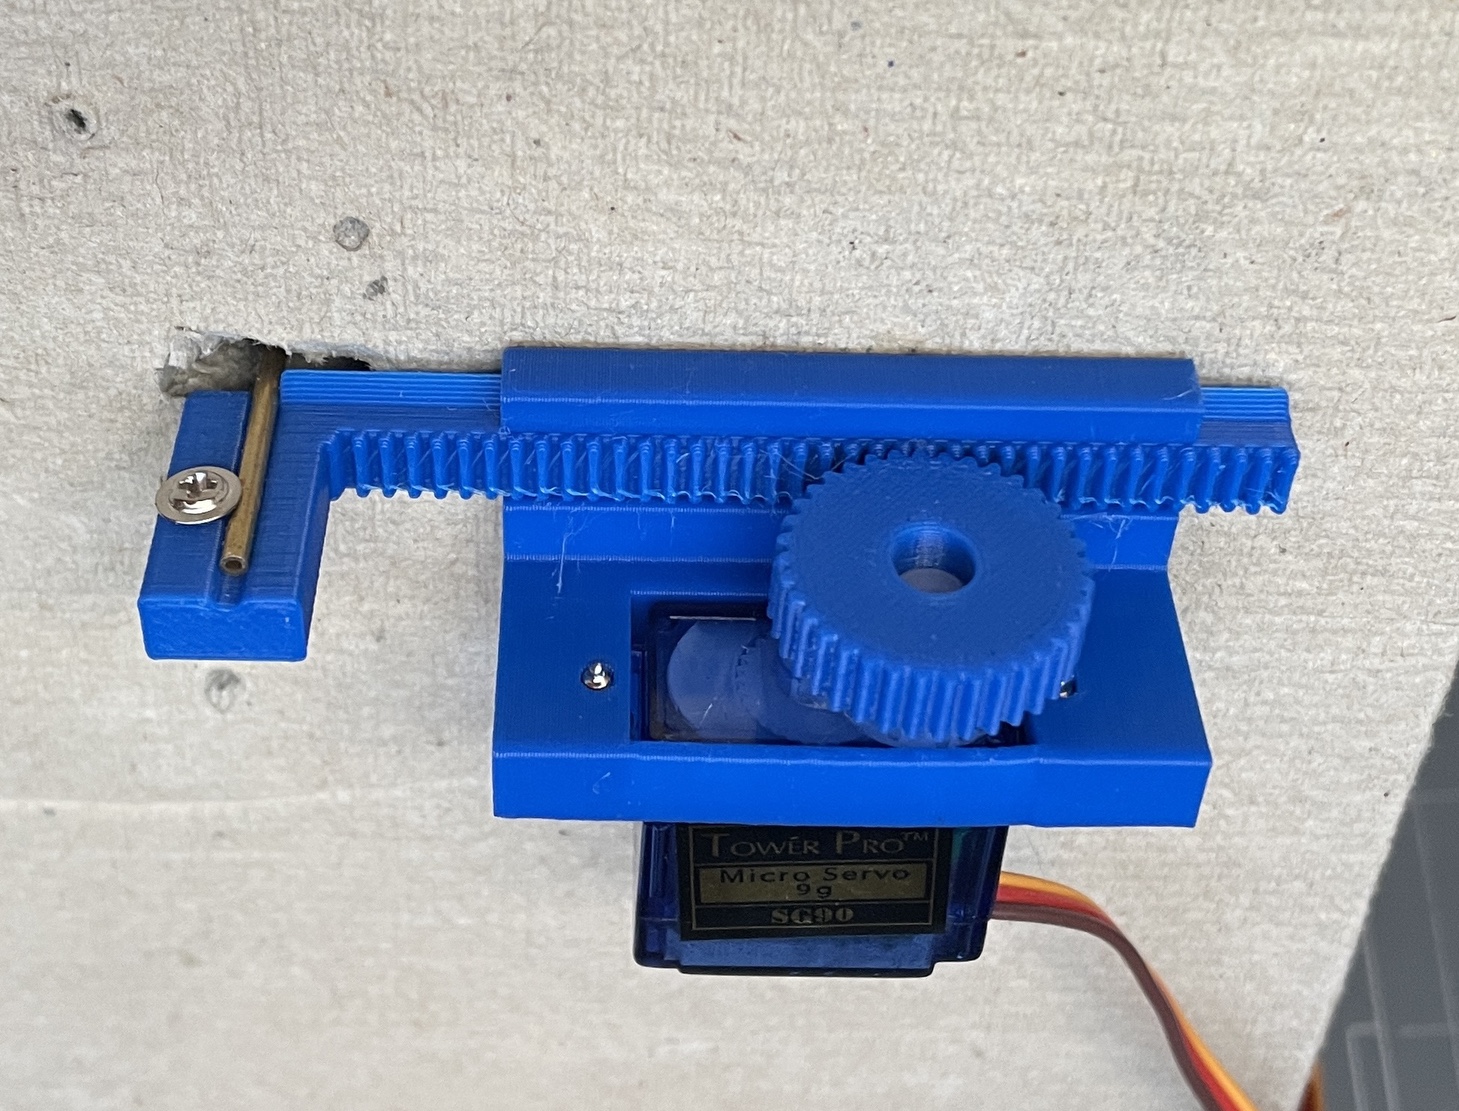
To switch the points on the stub, I opted to modify my servo switch machine. Changed the design of the 3d printed mount, a bit of code and it’s been dead accurate on switching to all 3 positions. This is a simple ATTiny84 AVR board I did, that uses inexpensive servos.

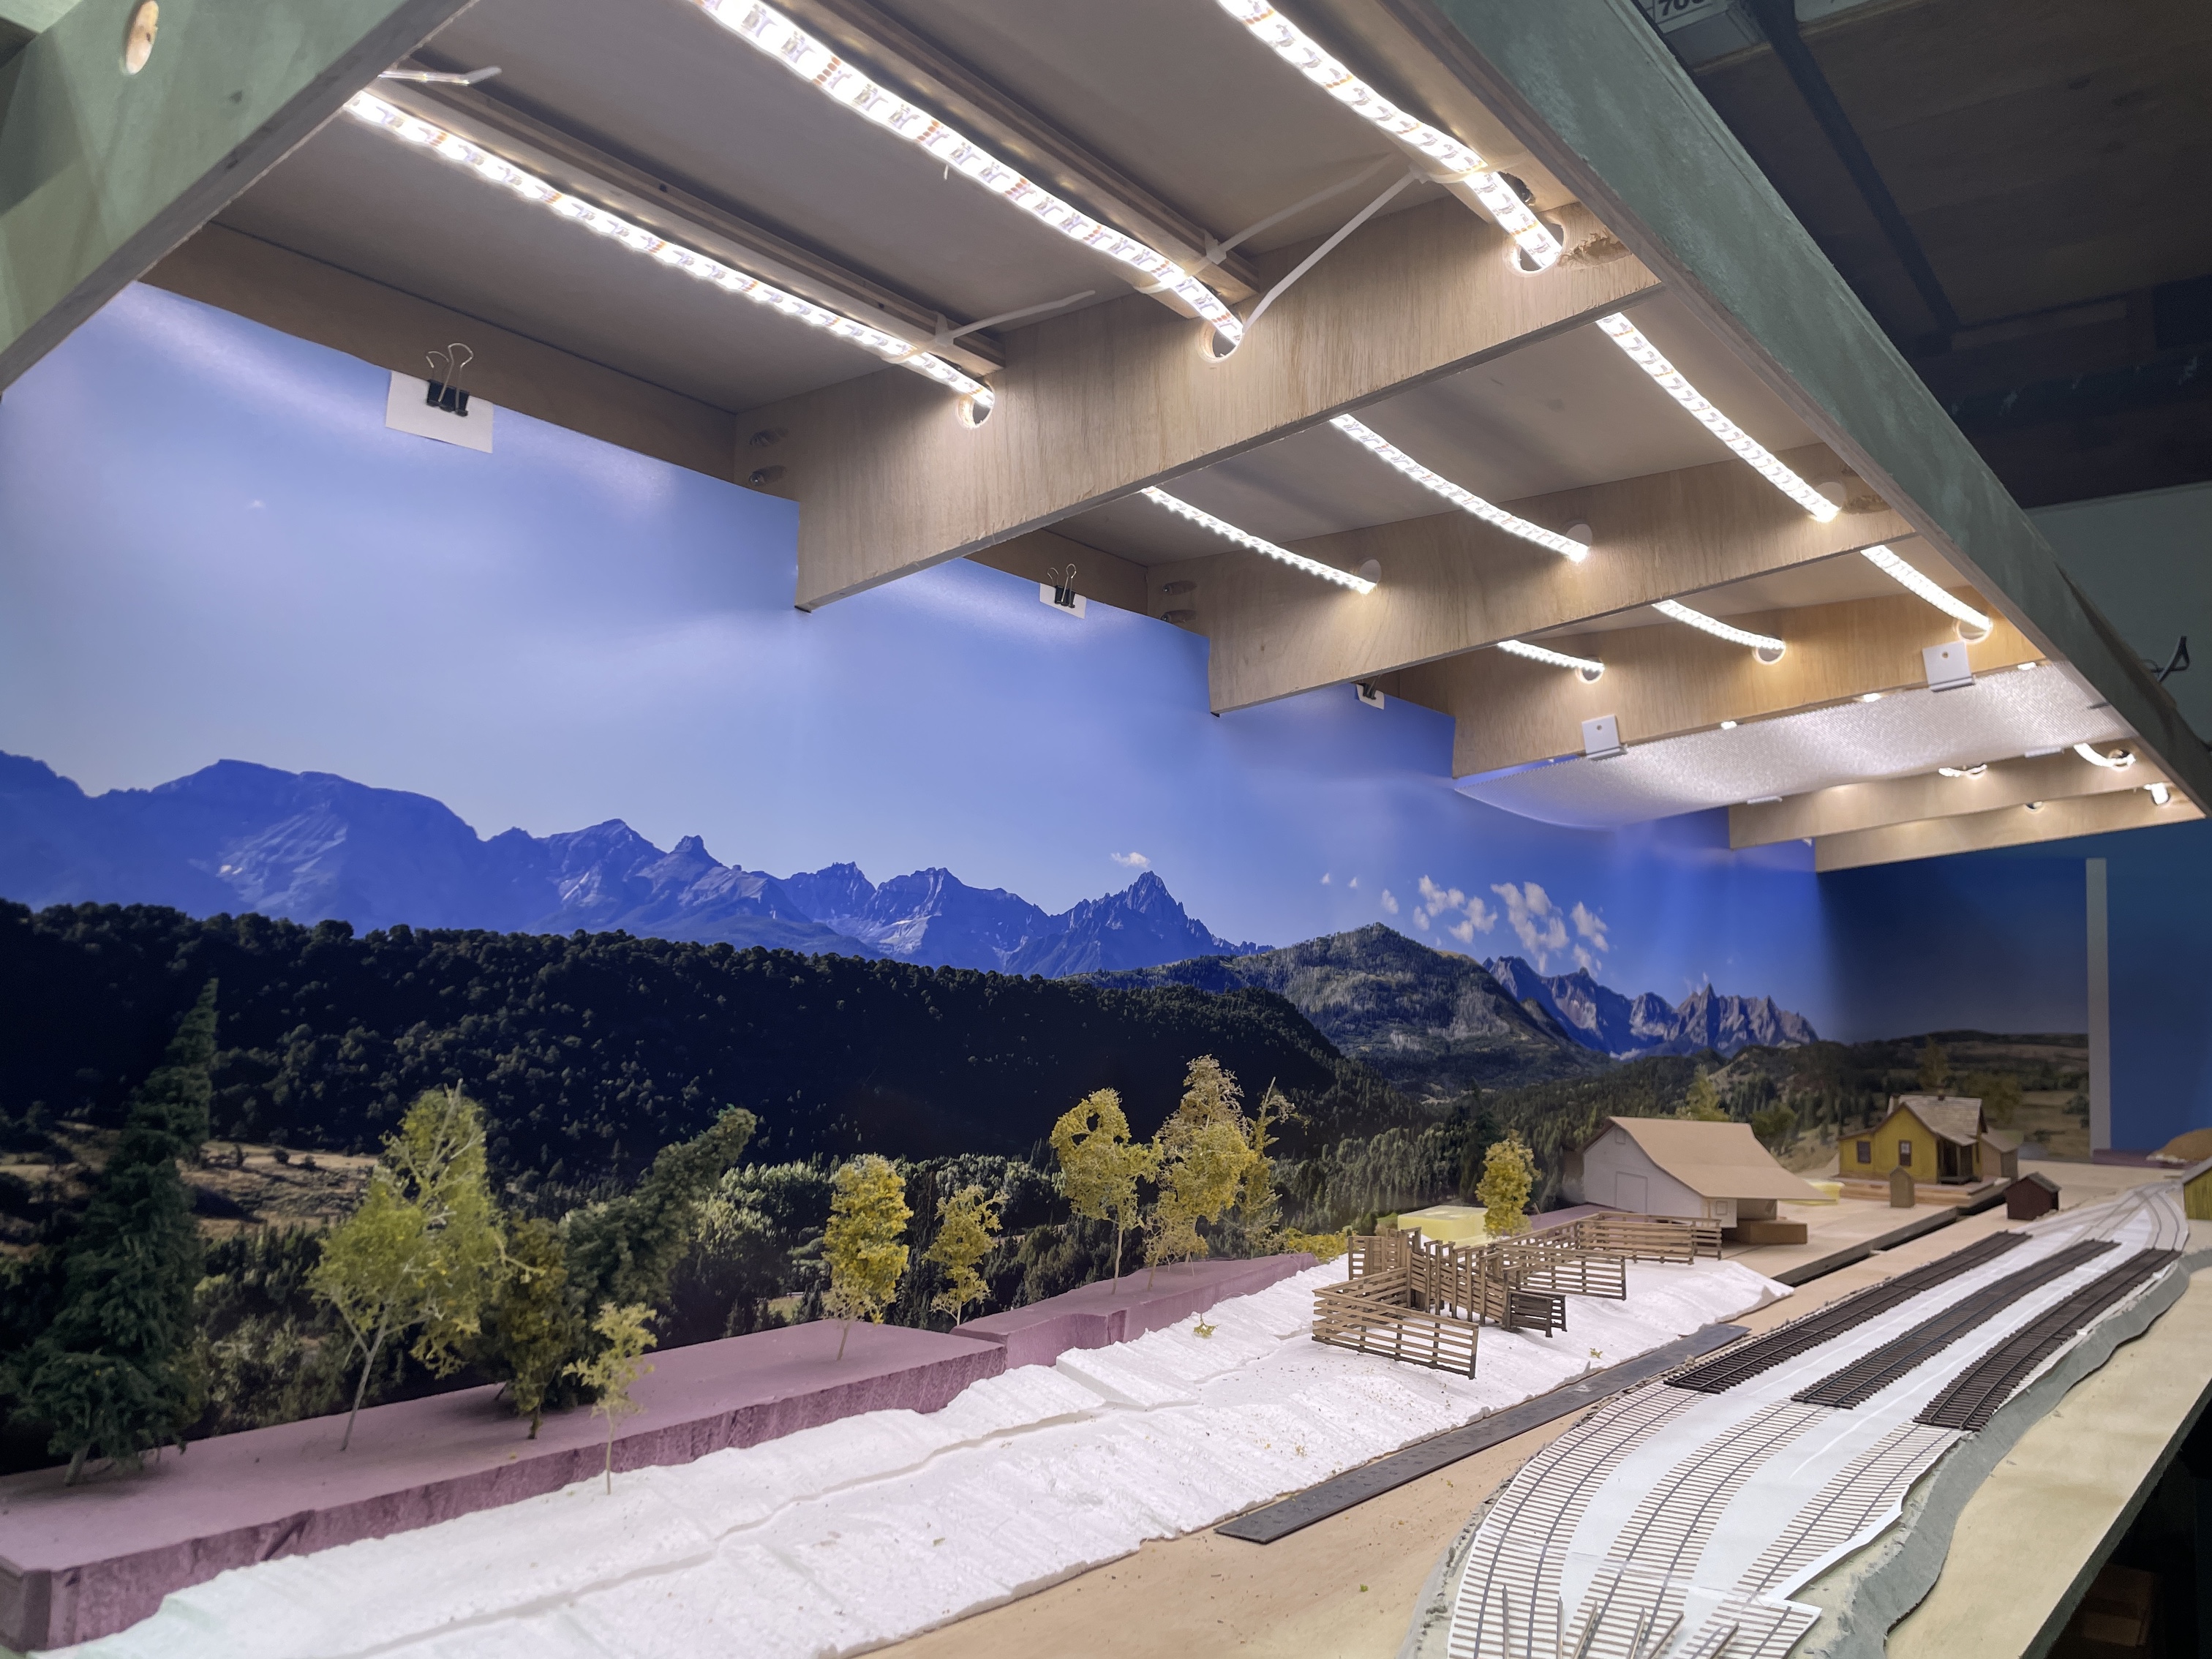
Last update is about lighting. My plan is to have the lights tied to my fast clock to shift the color from sun rise, to Day to sun set. I’m using RGBW LED’s. The big challenge with this project, is I wanted to stay with the Arduino, but it’s rather limited on what it can do for dimming LED’s. It only has a 8 bit PWM and when you drive more than 1, the lights can flicker. So I added a off board PCA9685 PWM driver. This drives the HighPower FET’s that handle 400 watts. Should be enough for most the layout. Still working on the right color balance but will do that after the scenery is in place.


If you have any questions, feel free to ask!
Jonathan